Technology
|
26 June 2025
How to Record PowerPoint Presentations with Audio
Written by Faizan
Full Stack Developer
Learn how to record PowerPoint presentations with audio using step-by-step instructions, advanced tips, and troubleshooting advice. Enhance your content today!

Table of Contents
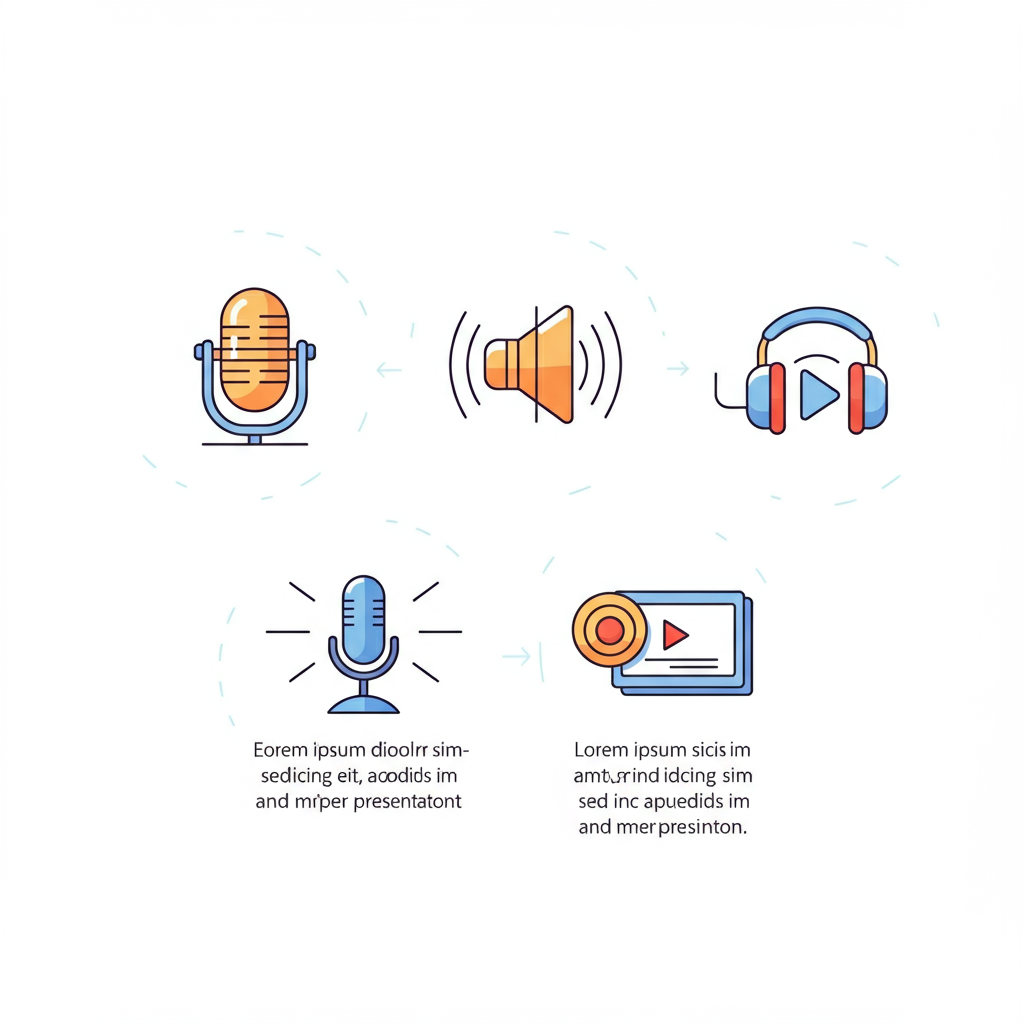
Recording a PowerPoint presentation with audio can transform your slides from static visuals into a dynamic and engaging narrative. Whether you're creating a lecture, a business presentation, or a tutorial, adding audio ensures your message shines through.
This guide will walk you through all the steps, cover advanced tips for a polished recording, and provide solutions for common issues along the way.
Why Record Audio in Your PowerPoint Presentation?
Adding audio to your PowerPoint presentation enhances how your audience interacts with your content. Whether you're explaining a tough concept or offering commentary, audio creates a richer learning experience.
Bonus? It’s a great way to save time by making your presentation available online for asynchronous viewing or exporting as a complete video.
Step-by-Step Guide to Recording Audio in PowerPoint
1. Prepare Your Presentation
Before hitting record, ensure your slides are ready. A well-organized deck makes recording smoother and more professional.
- Arrange the flow logically: Ensure your slides progress in a clear and structured way that aligns with your spoken words.
- Add speaker notes: Use the notes section at the bottom of each slide to jot down key points for recording.
2. Set Up Your Audio Equipment
Using quality audio equipment upgrades the overall result. Here's how to get started:
- Built-in microphone: This is convenient but may result in less clear audio. If possible, consider upgrading.
- External microphone: A USB microphone or headset works best for high-quality sound. Adjust your computer’s sound settings to select your external microphone as the input source.
- Quiet recording environment: Choose a location free of background noise. Turning off fans, closing windows, and muting notifications make a big difference.
Pro Tip: For the best recording quality, use an external microphone like the Blue Yeti or a simple lapel mic. Here’s a guide to choosing the best microphones depending on your needs.
3. Enable the Recording Feature
Before recording, ensure the Recording Tab is visible on the PowerPoint ribbon. If not:
Go to File > Options > Customize Ribbon.
Look for the "Recording" option on the right and enable it.
Now, you're ready to jump into the recording process.
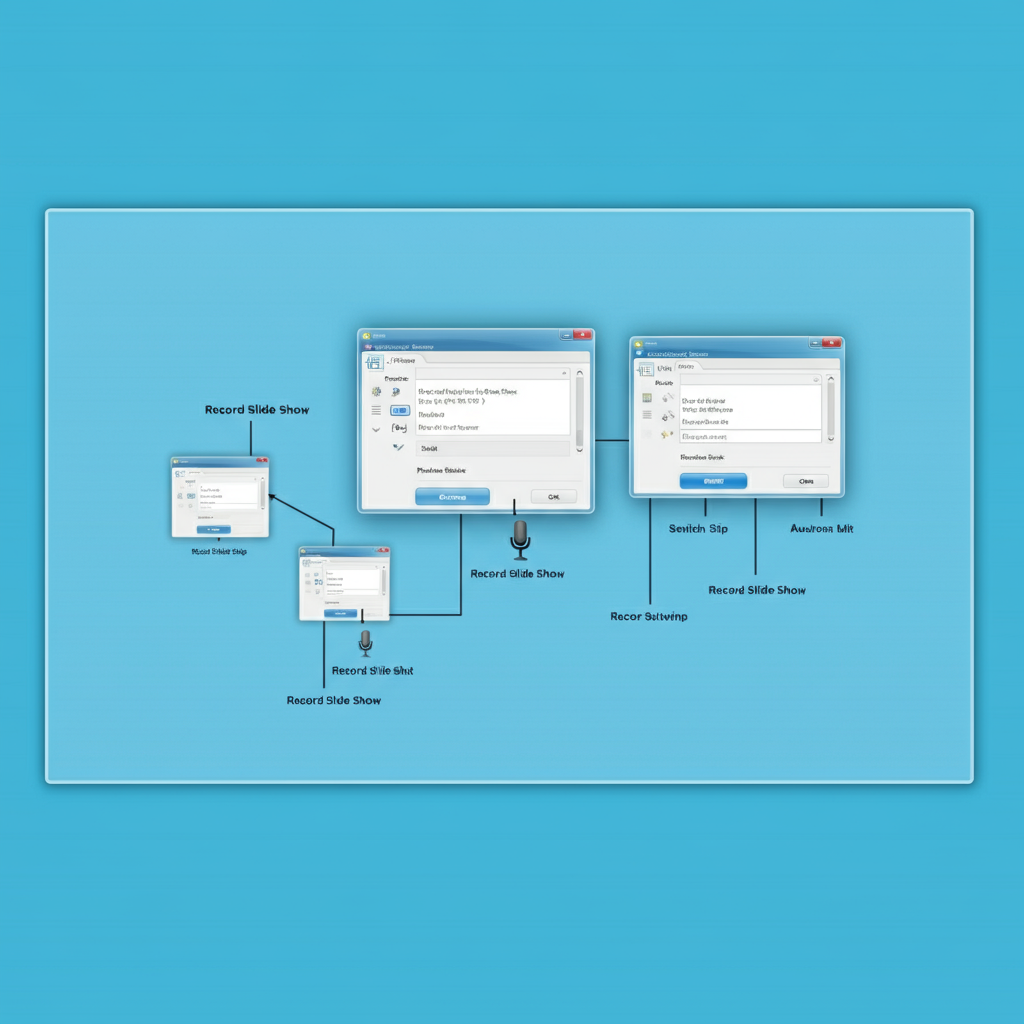
4. Start Recording Audio
- Windows Instructions
Open your presentation and click on the Recording tab.
Choose Record Slide Show, then decide whether to start from the current slide or the beginning.
Select options such as Narrations, Ink/laser pointer, and Slide Timings depending on what you need recorded.
Click the Record button, and begin speaking.
- Mac Instructions
Navigate to the Slide Show tab and select Record Slide Show.
A recording window will appear where you can click Record andbegin narrating.
Your recording will automatically save narration and slide timing.
Note: PowerPoint pauses recording during slide transitions, so wait to speak until each slide transition is complete.
5. Save and Edit Your Recording
When you’ve finished recording, press Escape or "End Show". PowerPoint will save your audio directly to each slide. You’ll see an audio icon appear on your slides to indicate narration is present. Click on this icon to play back and review your recording.
To make edits:
- Re-record specific slides: Go to the slide, select Record Slide Show, and start again.
- Delete audio on a slide: Use the Clear button on the ribbon to remove audio from select slides without affecting others.
6. Export Your Presentation With Audio
Exporting is key if you want to share your narrated presentation in video format. Here’s how:
Go to File > Export (for Mac) or File > Save As (for Windows).
Select MP4 or MOV as the file format.
Ensure "Use Recorded Timings and Narrations" is checked.
Click Export.
Your PowerPoint will now be saved as a video, ready to upload to platforms like YouTube, Dropbox, or email.
Advanced Tip: Adjust video resolution (720p or 1080p) for your audience to ensure the best playback quality.
Advanced Tips for a Professional Audio Presentation
- Use Teleprompter View: PowerPoint allows you to display notes on your screen as you record, acting as a teleprompter. Turn on this view in the Recording or Presenter window.
- Styling with Cameo Integration (Microsoft 365): Add a camera feed of yourself directly into the presentation for a personal touch. You can reposition and resize the camera to align with your slide content.
- Background Noise Reduction: Tools like Audacity can help remove background noise from audio files if needed.
- Close Captioning: Make your content accessible by adding captions. You can manually write them or generate them automatically using Microsoft Stream.
Learn more about How to Make an Audio File .
Troubleshooting Common Issues
- Audio Not Recording: Confirm that the correct microphone is selected in your system and PowerPoint settings.
- Poor Sound Quality: This can occur if your microphone is too far away. Keep it 4-6 inches from your mouth for the clearest sound.
- Exported Video Has No Audio: Check that "Use Recorded Timings and Narrations" is enabled during export.
For additional help, the Microsoft Office Support Center offers detailed troubleshooting guides.
Why Semantic SEO Techniques Are Important for Blogs on Recording Audio in PowerPoint
When designing tutorials, semantic SEO goes beyond keyword use. It’s about addressing related queries your audience might have, like “how to export narrated PowerPoint,” “best microphones for recording,” and “how to edit PowerPoint audio.” These strategies ensure your content surfaces for diverse, intent-driven searches.
By answering these related queries in your blog, you’ll provide clear value to readers while boosting search visibility. This approach positions you as an authoritative source for all PowerPoint-recording needs.
Wrapping It Up
Recording a PowerPoint presentation with audio allows you to deliver impactful, ready-to-share content with minimal effort. By following the steps above for preparation, recording, and exporting, you can create professional-level presentations that grab the audience's attention.
Don’t forget to experiment with advanced tools like Cameo for video elements and Teleprompter View for seamless delivery.
Need support with transcription or video editing services? Transcripter.co is here to help. Make your audio presentations even more engaging with captions, transcripts, and polished audio.
FAQs on How to Record PowerPoint Presentations with Audio
1. Can I record audio directly in PowerPoint?
Yes, PowerPoint allows you to record audio directly from the application. You can access this feature by going to the Recording or Slide Show tab and selecting Record Slide Show. This enables you to add narration to your slides seamlessly.
2. Do I need an external microphone to record audio in PowerPoint?
No, you can use the built-in microphone on your computer. However, for better audio clarity and quality, it’s recommended to use an external USB microphone or headset.
3. How do I ensure good audio quality in my presentation?
To achieve good audio quality:
- Record in a quiet location to avoid background noise.
- Use an external microphone, if possible.
- Keep the microphone close (about 4-6 inches from your mouth).
- Speak clearly and consistently throughout the presentation.
4. Can I re-record audio for a specific slide?
Yes, you can re-record audio for individual slides. Navigate to the slide, select the Record Slide Show option, and redo the narration for only that slide, without affecting the rest of your presentation.
5. How do I delete audio from a slide in PowerPoint?
To remove audio from a slide:
Navigate to the slide and click the audio icon.
Press Delete on your keyboard, or use the Clear option under the Recording or Slide Show tab.
6. Does PowerPoint record audio during slide transitions?
No, PowerPoint does not capture audio during slide transitions. Wait for a transition to complete before you begin speaking.
7. Can I export my audio-narrated presentation as a video?
Absolutely. Once you've added narration, go to File > Export or Save As and choose MP4 or MOV as the format. Make sure to enable the option to use recorded timings and narrations.
8. My exported video has no audio. What went wrong?
If your video lacks audio, ensure that the Use Recorded Timings and Narrations option is checked during the export process. Also, verify that your narration was saved in the slides.
9. How can I add captions to my presentation?
You can create closed captions by:
- Manually writing a caption file.
- Using Microsoft Stream to auto-generate captions.
- After creating a caption file, you can add it to your media by utilizing PowerPoint's closed-captioning tools.
10. Can I include my video feed while recording in PowerPoint?
Yes, with the Cameo feature in Microsoft 365, you can add a live camera feed overlay onto your slides as you record. You can resize and customize the video feed placement to align with your presentation.
11. How do I troubleshoot audio not recording in PowerPoint?
If PowerPoint is not recording audio:
- Check that the correct microphone is selected in your system’s sound settings and in PowerPoint.
- Ensure the microphone isn’t muted.
- Verify that PowerPoint has permission to access your microphone (check your device’s privacy settings).
12. Can I use PowerPoint’s recording feature on Mac?
Yes, PowerPoint for Mac supports audio recording. Navigate to the Slide Show tab, select Record Slide Show, and follow the steps to add narration.
13. What are the best export settings for sharing my presentation as a video?
For high-quality playback, export your presentation in 1080p resolution. If video file size is a concern, use 720p for a smaller file with decent quality.
14. Are there tools to enhance my audio before recording in PowerPoint?
Yes, you can use external tools like Audacity to clean or enhance your audio recordings before inserting them into PowerPoint.
15. How do I access my speaker notes while recording?
PowerPoint offers a Teleprompter Mode during recording, where speaker notes appear on your screen, allowing you to read them easily while maintaining a natural delivery.
16. Can I edit audio once it’s recorded in PowerPoint?
Yes. While editing tools are basic in PowerPoint, you can cut, delete, or re-record audio. For advanced editing, export your audio to an external tool like Audacity, edit it there, and reinsert it into your presentation.
17. Why should I add audio to my PowerPoint presentation?
Adding audio helps engage your audience, provides clarity on complex topics, and lets you share your content as a standalone resource. It’s especially useful for remote learning, training, and virtual presentations.
If you have further questions or need assistance with transcription, captioning, or video editing, Transcripter.co is here to help!

Revolutionize Your Workflow with Transcripter
Ready to streamline your content creation?