Technology
|
27 May 2025
How to Send a Voice Text on iPhone (Most iPhone Users Don’t Know This)
Written by Faizan
Full Stack Developer
Learn how to send a voice text on iPhone with this step-by-step guide. Save time and add a personal touch to your messages today!

Table of Contents
Sometimes, typing a message just doesn’t cut it. Whether you want to convey emotions or simply find typing inconvenient, sending a voice text on your iPhone can be a quick and personal way to communicate.
This guide will walk you through everything you need to know about how to send a voice text on iPhone, from step-by-step instructions to handy tips.
By the end, you’ll be an expert in leveraging this iPhone feature for streamlined communication.
Why Send a Voice Text?
Voice texting offers a number of advantages over traditional texting. For starters, it allows for greater emotional expression, as tone, emphasis, and personality come through better in your voice than in written words.
Additionally, voice messages can be quicker to create, especially when you’re on the go, making them an ideal option for busy lifestyles.
With this guide, you’ll learn exactly how to record and send voice texts and how to make the most of this feature on your iPhone.
Step-by-Step Guide to Sending a Voice Text on iPhone
1. Open the Messages App
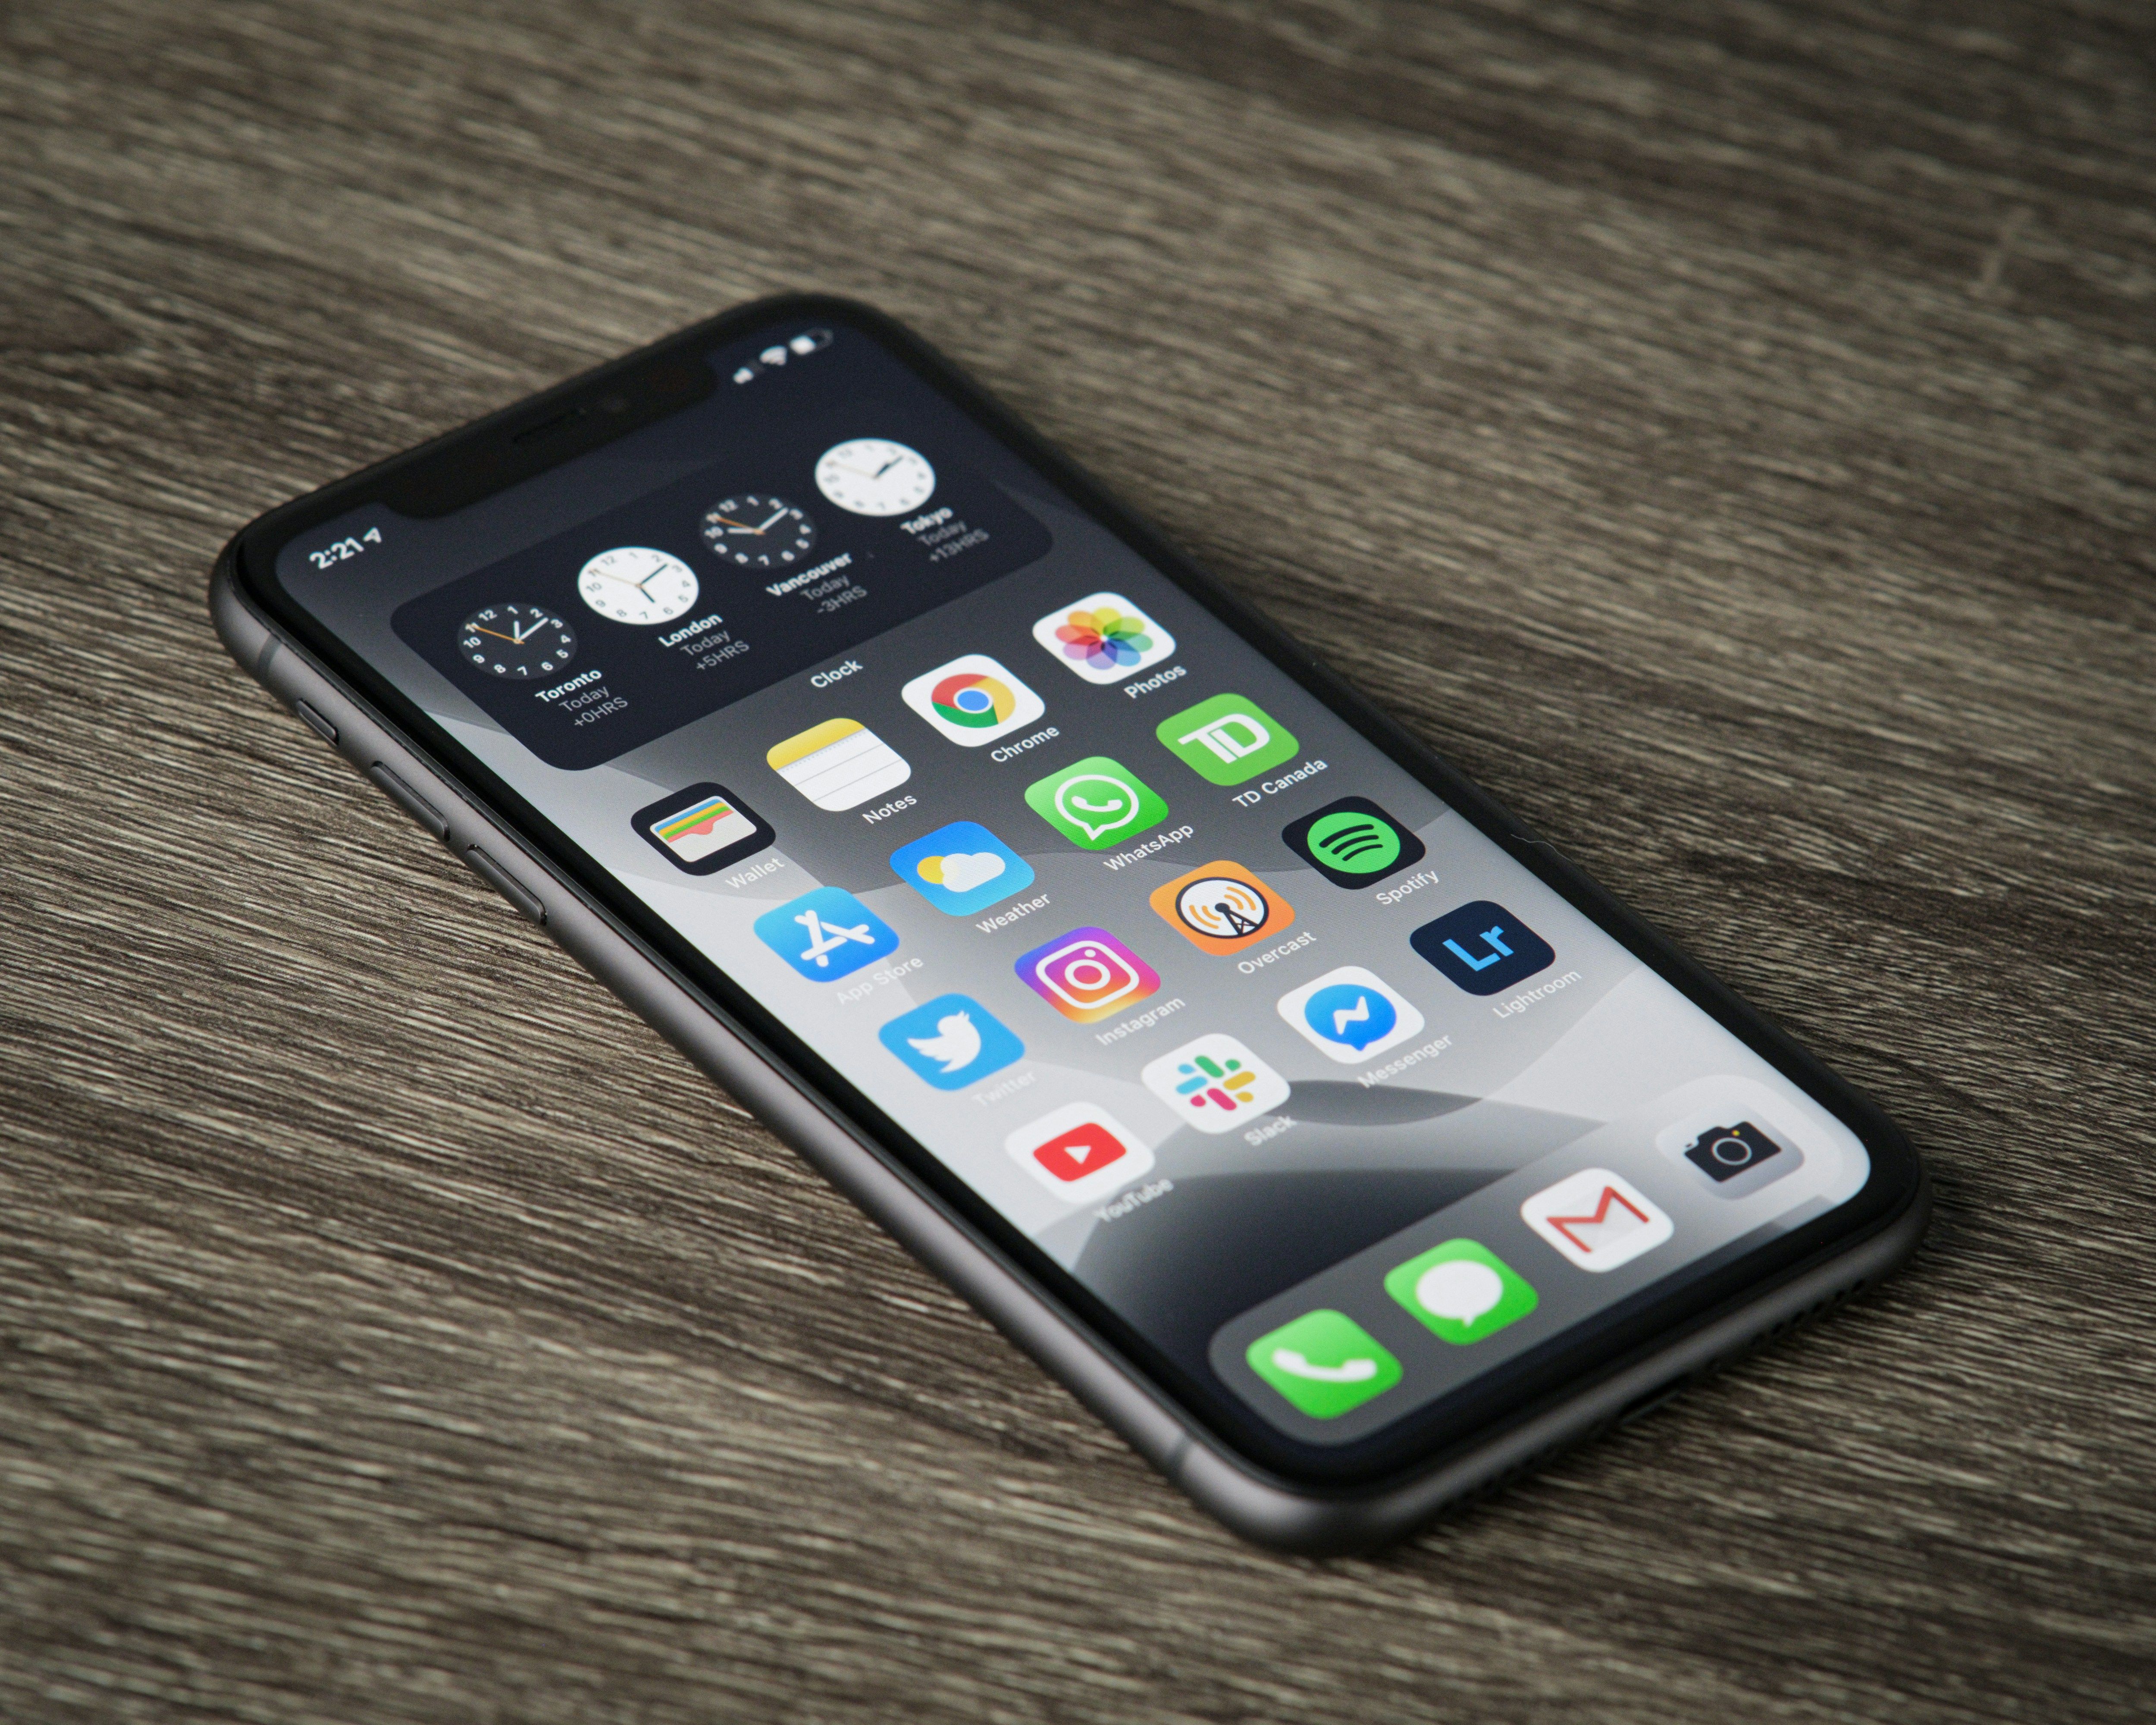
The first step is launching the Messages app on your iPhone. You’ll usually find it on your Home Screen, represented by the green speech bubble icon.
2. Choose or Start a Conversation
You can either select an existing conversation or start a new one:
- Tap a contact from your conversation list to open an ongoing thread.
- Or tap the New Message icon (a pencil inside a square, usually in the upper-right corner).
- In the To: field, type the recipient’s name, phone number, or email address linked to iMessage.
3. Locate the Microphone or Audio Icon
The method to record a voice message may vary slightly depending on your iOS version:
- On older iOS versions: Tap and hold the microphone icon located in the text input area’s bottom-right corner.
- On iOS 17 or later:
- Tap the plus (+) icon next to the text input field.
- Select Audio from the menu that appears.
4. Record Your Voice Message
Now you’re ready to record:
- Press and hold the microphone or record button.
- Speak clearly into the microphone.
- When you're finished:
- Release the button to send immediately.
- Or tap Stop (on newer versions) to pause and review before sending.
5. Review Your Recording (Optional)
Before you send the message, you can listen to what you recorded:
- Tap the Play button to review.
- If it’s not satisfactory:
- Tap the X to cancel.
- Then re-record your message by repeating the recording process.
6. Send Your Voice Text
Once you're satisfied with your voice message:
- Tap the Send button (usually a blue or gray paper airplane icon).
- Your voice text will appear as an audio waveform in the chat with a play button, allowing the recipient to listen.
7. Follow-Up Audio Messages
To send another message:
- Repeat the process by holding the Record Audio button again.
- This allows you to send multiple voice messages in a single conversation smoothly.
Saving Audio Messages on iPhone
By default, voice messages automatically delete two minutes after being sent or played, unless manually saved. Here’s how to avoid losing important audio messages:
To save a specific audio message:
- Tap Keep below the message after playing it.
To always save audio messages automatically:
- Go to Settings > Messages.
- Under the Audio Messages section, change Expire to Never.
Additionally, you can save an audio message to the Voice Memos app:
- Touch and hold the audio message in your conversation.
- Choose Save to Voice Memos from the options.
Tips for Easier Voice Texting
- Use Raise to Listen: You can play or reply to audio messages simply by bringing your iPhone to your ear. Enable this feature under Settings > Messages, or turn it off if it activates unintentionally.
- Edit Language Settings: iPhone can transcribe your audio messages in supported languages. Go to Settings > General > Language & Region to adjust these options if needed.
- Hands-Free Recording: For quick, repeated audio messages, use the microphone button within the text field above the keyboard.
- Use AirPods for Clearer Voice Messages: Connecting AirPods to your device can improve audio quality when recording voice texts. Learn how to connect AirPods to a Chromebook if you use both devices.
Switching to FaceTime for Calls
Sometimes, voice messages lead to a need for a live conversation. Quickly transition to a video or audio call via FaceTime:
- Open a conversation in Messages and tap the FaceTime icon at the top to instantly connect.
Troubleshooting Common Issues
Audio Message Won’t Send
- Make sure you’re signed into your Apple ID/iCloud account.
- Confirm the recipient also uses iMessage (available to iPhone and iOS users).
Can't Find the Audio Recording Option
- Verify your iOS version. If you’re using older software, the interface may look different.
- Update your iPhone to the latest iOS version under Settings > General > Software Update.
For more detailed guidance or troubleshooting tips, check out these Apple support resources: Apple Support - Send and Receive Audio Messages
Advantages of Voice Texting
Still wondering if voice texting is for you? Here’s a quick recap of why it’s worth giving a try:
Personal Connection: Sharing your voice can make messages feel more heartfelt.
Convenience: Eliminate typing and focus on clear, direct communication.
Efficiency: Get your thoughts across quickly, especially in multitasking situations.
Whether you're sending a quick note, handling something work-related, or sharing something emotional, voice texts make communication effortless and meaningful.
For more iPhone how-tos and advanced tips, be sure to check out Apple’s resource hub at Apple Support.
Final Thoughts
Mastering how to send a voice text on iPhone is a game-changer for enhancing communication. From reducing typing time to sharing rich emotions through your voice, this feature is both personal and efficient.
Whether you’re catching up with a friend or sending quick reminders, you now have all the tools needed to confidently create and share voice messages with ease.
FAQ: How to Send a Voice Text on iPhone
1. How do I start sending a voice text on my iPhone?
To start, open the Messages app on your iPhone. Choose an existing conversation or start a new one by tapping the New Message icon. Locate the microphone icon (older iOS versions) or tap the plus (+) icon and select Audio (iOS 17 and above).
2. Do I need an Apple ID to send voice texts?
Yes, you must be signed into your Apple ID or iCloud account to send voice texts via iMessage. Additionally, the recipient must also have an Apple device with iMessage enabled.
3. Can I send a voice text to someone who doesn’t have an iPhone?
No, voice texts are sent through iMessage, which is only compatible with Apple devices like iPhones, iPads, and Macs. For non-Apple users, consider using other platforms like WhatsApp or Messenger.
4. How can I save audio messages that I don’t want to lose?
You can save audio messages by doing one of the following:
- Tap Keep immediately after sending/receiving the voice text.
- Press and hold the voice message, then select Save to Voice Memos if you want it to appear in the Voice Memos app.To stop automatic deletion, go to Settings > Messages > Audio Messages > Expire and select Never.
5. Why do my voice texts disappear after I send or play them?
By default, voice messages expire two minutes after being played or sent. This feature helps conserve storage space. You can save them or change the expiry setting to Never in Settings > Messages > Audio Messages > Expire.
6. Can I listen to my voice message before sending it?
Yes! After recording your message, a Play button appears. Use this to listen to your recording before sending. If you don’t like it, tap the X to discard and re-record.
7. How can I send back-to-back voice messages?
Once your first message is sent, simply press and hold the Record Audio button in the text field to start the next recording. This feature ensures quick communication without navigating additional menus.
8. What should I do if the microphone icon or audio option isn’t available?
If you don’t see the microphone or audio option:
- Check your iOS version and update to the latest software via Settings > General > Software Update.
- Ensure you’re logged into your Apple ID and that iMessage is enabled in Settings > Messages.

Revolutionize Your Workflow with Transcripter
Ready to streamline your content creation?