Technology
|
1 August 2025
How to Add a New Scan File to Easy Stand Alone | Unlock Pro Lighting Control
Written by Faizan
Full Stack Developer
Learn how to add new scan files to Easy Stand Alone software for seamless DMX lighting control. Step-by-step guide with troubleshooting tips and advanced features.

Table of Contents
If you're looking to optimize your DMX lighting setup, understanding how to add a new scan file to the Easy Stand Alone (ESA) software is essential. Whether you're a beginner or a seasoned professional, this step-by-step guide will walk you through the entire process.
From software installation to troubleshooting and advanced features, we’ll make sure you’re equipped with everything you need to enhance your lighting configuration.
Why Adding a Scan File Matters
A scan file is essentially a library or profile for your specific lighting fixture. By adding it to the ESA software, you can gain greater control over your lighting scenes, ensuring your fixtures behave as intended.
This guide will explore this process thoroughly, making it easy to follow along.
Step 1: Install the ESA Software
Before you can begin adding scan files, you must have the ESA software installed on your computer. Follow these steps:
Locate the Software Source
ESA software often comes on a disc accompanying your DMX controller. If you don’t have a disc, download the software from the manufacturer’s website.
Install the Software
Insert the disc or open the downloaded file. Double-click the EasyStandAlone installer and follow the setup instructions. During installation, make sure to download all necessary drivers when prompted.
Verify Installation
Launch the software to ensure it has installed correctly. If everything is functioning, you'll arrive at the home screen with options like "Setup," "Editor," and "User."
Step 2: Set Up Your DMX Fixtures in the Software
After installing the ESA software, it's time to configure your DMX fixtures. This step ensures proper communication between the software and your lighting hardware.
Navigate to the Setup Tab
Open the ESA software and go to the "Setup" tab. This is where you’ll configure your DMX universe.
Drag and Drop Fixtures
Locate the "Generic" library under the "Scan Library" section. Drag appropriate fixtures (e.g., "RGB" for multi-color lights or "Single Channel" for monochrome fixtures) into the corresponding DMX addresses in the table.
Assign DMX Addresses
Double-check that the physical addresses of your DMX lights match their assigned locations in the DMX universe. This will avoid communication errors during programming.
Step 3: Add the New Scan File
Now you’re ready to add a scan file for your custom or new lighting fixtures.
Download the Scan File
If your specific fixture isn't listed in the software's library, download its scan file from the manufacturer’s website or create one manually using the Scan Library Editor within ESA.
Import the File
Navigate to the "File" menu in ESA and select "Import Scan" (or similar, depending on your version). Locate your downloaded scan file and upload it into the library.
Verify the File
Check to see if the new fixture appears in the "Scan Library." Test the attributes to ensure everything is functioning correctly (e.g., dimmer control, RGB mixing).
Troubleshooting Tip:
If the scan file fails to load, double-check its format and whether it matches the ESA software’s compatibility requirements.
Step 4: Program and Save Lighting Scenes
With your new scan file installed, you can now create stunning lighting scenes.
- Go to the Editor Tab
Click on the "Editor" tab, where you can create and customize lighting effects.
Define Scenes and Steps
- Scenes include overall settings like transition effects, loops, or fades.
- Steps are specific commands like fade time, hold time, and brightness levels that make up each scene.
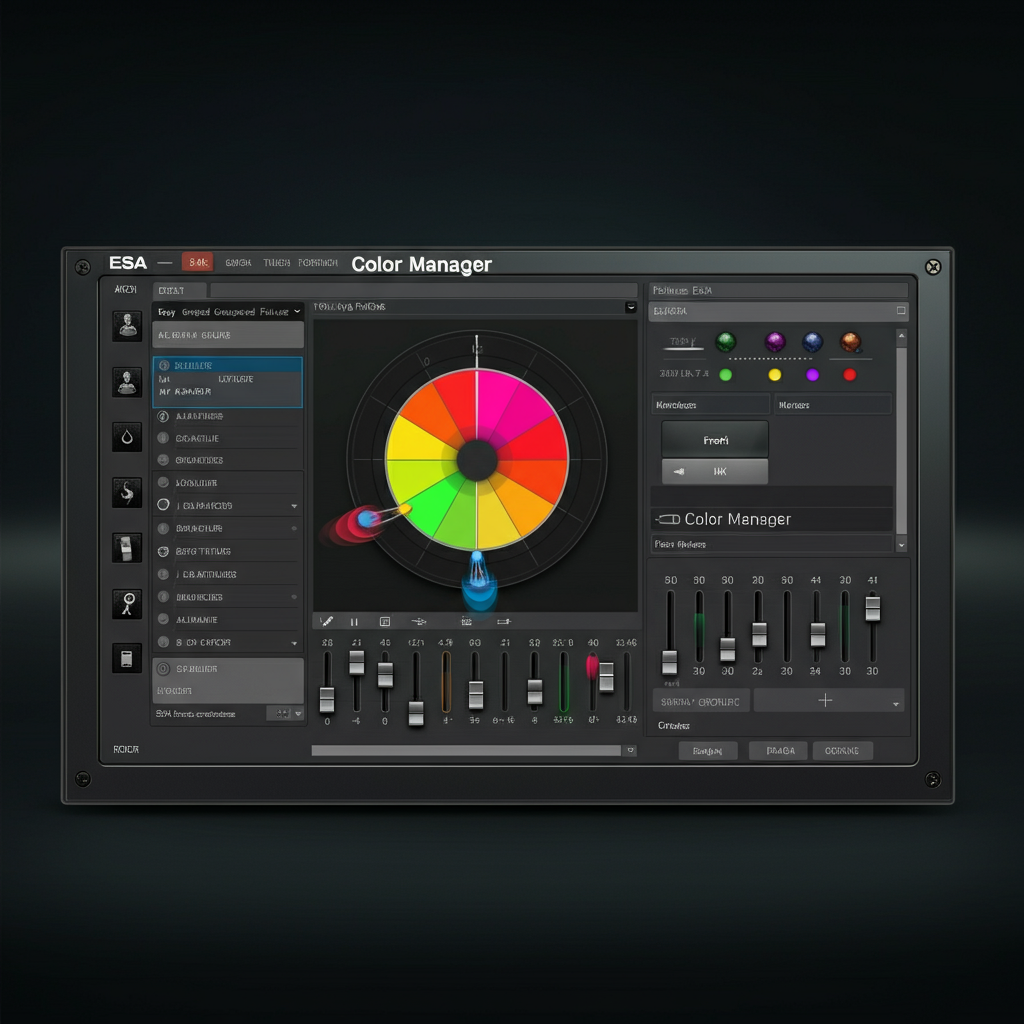
Use Tools for Precision
Leverage built-in tools such as the Color Manager (for color groupings and fine-tuning colors via a wheel) and FX Manager (for advanced effects like gradients and chasing lights).
Save Your Scenes
Once satisfied, click on the "Stand Alone" tab and choose “Write Memory” to save your programmed scenes to the DMX controller.
Pro Tip:
To conserve memory on entry-level controllers, limit intricate programming and simplify your lighting effects.
Learn more about: how to Extract Audio from Video
Step 5: Operate in Standalone Mode
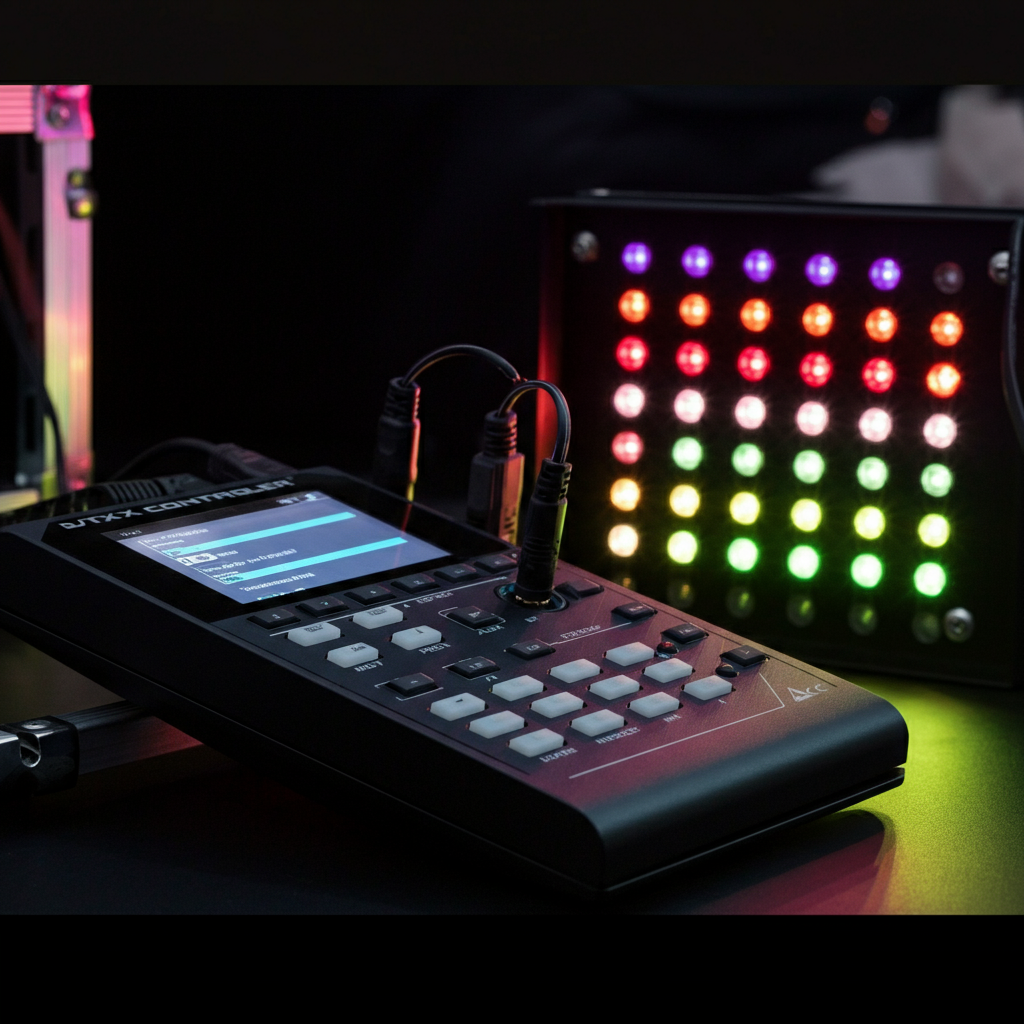
After programming and saving your scenes, your DMX controller can operate independently without a computer connection.
Power the Controller
Standalone controllers require an external power source. Some use USB power adapters, while others might need specific 12V DC transformers.
Select Lighting Scenes
Toggle between stored lighting scenes using physical buttons or touch-sensitive controls on the DMX controller.
Test and Verify
Connect your fixtures and observe the output to confirm your programmed settings.
Advanced Troubleshooting and Features
Even with the best-prepared setup, you might run into challenges or wish to explore advanced functionalities:
Common Issues and Fixes:
- Scan File Not Recognized
Ensure the file is in a supported format and uploaded correctly. If issues persist, contact your fixture’s manufacturer.
- Lighting Scenes Not Playing as Expected
Verify DMX address settings and test connections between the controller and fixtures.
Explore Supplemental Functions:
- Trigger-Based Lighting
Use relay triggers to activate scenes based on custom inputs (e.g., sound or motion).
- Advanced FX Editor
The built-in FX feature helps you create swirling patterns, gradients, and fading effects effortlessly.
Closing Thoughts
Adding a new scan file to Easy Stand Alone software is a straightforward yet powerful way to expand your lighting setup capabilities. By following this guide, you’ll not only master the basics but also unlock advanced features to make your lighting scenes more dynamic and engaging.
If you’d like to explore more tips and tricks, visit Transcripter.
FAQ for Adding a New Scan File to Easy Stand Alone
What is a scan file in ESA?
A scan file in Easy Stand Alone (ESA) is a digital library or profile that represents the attributes and settings of a lighting fixture. It enables the ESA software to communicate with and control the specific fixtures in your lighting setup.
Why do I need to add a scan file?
Adding a scan file ensures proper functionality and customization of your lighting fixtures within the ESA software. Without the appropriate scan file, the software may not be able to control the attributes of your specific fixture correctly.
Installation and Setup
What are the system requirements for ESA software?
To use ESA software effectively, your system should meet these basic requirements:
- Operating System: Windows 10+ or macOS (specific versions depend on the ESA version).
- Processor: At least 2 GHz dual-core.
- RAM: Minimum 4 GB (8 GB recommended for smoother operation).
- Free Disk Space: At least 500 MB for installation files.
- USB Ports: One free USB port for connecting the DMX controller.
How do I install ESA software?
Install ESA software by following these steps:
- If you have a CD included with your DMX controller, insert it into your computer. Otherwise, download the software from the official Nicolaudie Group website.
- Run the installer (EasyStandAlone.exe or equivalent) and follow on-screen instructions.
- Make sure to install all necessary drivers when prompted to ensure compatibility with your DMX controller.
Adding and Managing Scan Files
How do I add a new scan file to ESA?
- Download the compatible scan file for your lighting fixture from the manufacturer’s website.
- Open ESA software and go to the "File" menu.
- Select "Import Scan" and choose the downloaded scan file.
- Verify that the file appears in the "Scan Library" and test it with your fixture.
Can I create my own scan file?
Yes, you can create your own scan file using the Scan Library Editor, a tool included within the ESA software. This is useful for custom fixtures not available in the standard library. Follow these steps:
- Open the Scan Library Editor from the ESA interface.
- Input the fixture settings, such as DMX channel numbers, control modes, and ranges for features like dimming and color mixing.
- Save and load the file into ESA.
Troubleshooting and Advanced Tips
How do I troubleshoot scan file issues?
- File Not Recognized: Ensure the file format (.ssl or .ssl2) matches the ESA version you're using.
- Fixture Not Responding:
- Check the DMX address of the fixture to ensure it matches the software configuration.
- Verify the connection between your DMX controller and fixture.
- General Issues: Update your software or contact the fixture manufacturer for support.
What if my fixture isn’t listed in the Scan Library?
If your fixture isn’t in the standard Scan Library:
- Check the manufacturer’s website for a downloadable scan file.
- If unavailable, create one manually using the Scan Library Editor in the ESA software.
Programming and Saving Lighting Scenes
How do I save lighting scenes in Standalone Mode?
- After programming your desired lighting scenes in the "Editor" tab, switch to the "Stand Alone" tab.
- Click "Write Memory" to save the scenes to your DMX controller.
- Ensure the controller is powered and connected during this process.
Can I edit scenes that have already been saved?
Yes, previously saved scenes can be reloaded and modified in the ESA software. Make edits in the "Editor" tab and overwrite the existing memory on your controller.
What are the memory limitations of DMX controllers?
Entry-level DMX controllers have limited memory for storing scenes, often measured in kilobytes. Using simpler lighting scenes or reducing the number of steps can help conserve memory. High-end controllers usually have more generous storage capabilities.
Operating in Standalone Mode
How do I operate the controller in standalone mode?
- Provide power to the controller using a USB adapter or a compatible DC transformer.
- Connect the controller to your DMX fixtures.
- Use the physical buttons or touch-sensitive controls to toggle between the saved scenes.
What is the difference between Standalone Mode and Live Mode?
- Standalone Modeallows the controller to operate independently without needing a computer connection, ideal for permanent installations.
- Live Mode requires a computer for real-time adjustments and programming flexibility.
Closing Notes
For additional resources and support, visit the official Nicolaudie Group Documentation. With the tips provided here, you’ll be ready to efficiently add, manage, and troubleshoot scan files in Easy Stand Alone software!

Revolutionize Your Workflow with Transcripter
Ready to streamline your content creation?